
How to Make Sensory Bottles to Manage Student Emotions
It’s no doubt that teachers have an important job. Most people think that teachers spend their days teaching number sense and writing. However, teachers are spending more and more time during the day teaching essential social emotional learning skills.
Use a calm down caddy with sensory bottles as a tool to help students manage and regulate their emotions. To make your own sensory bottles, follow these simple steps.

How To Make Sensory Bottles
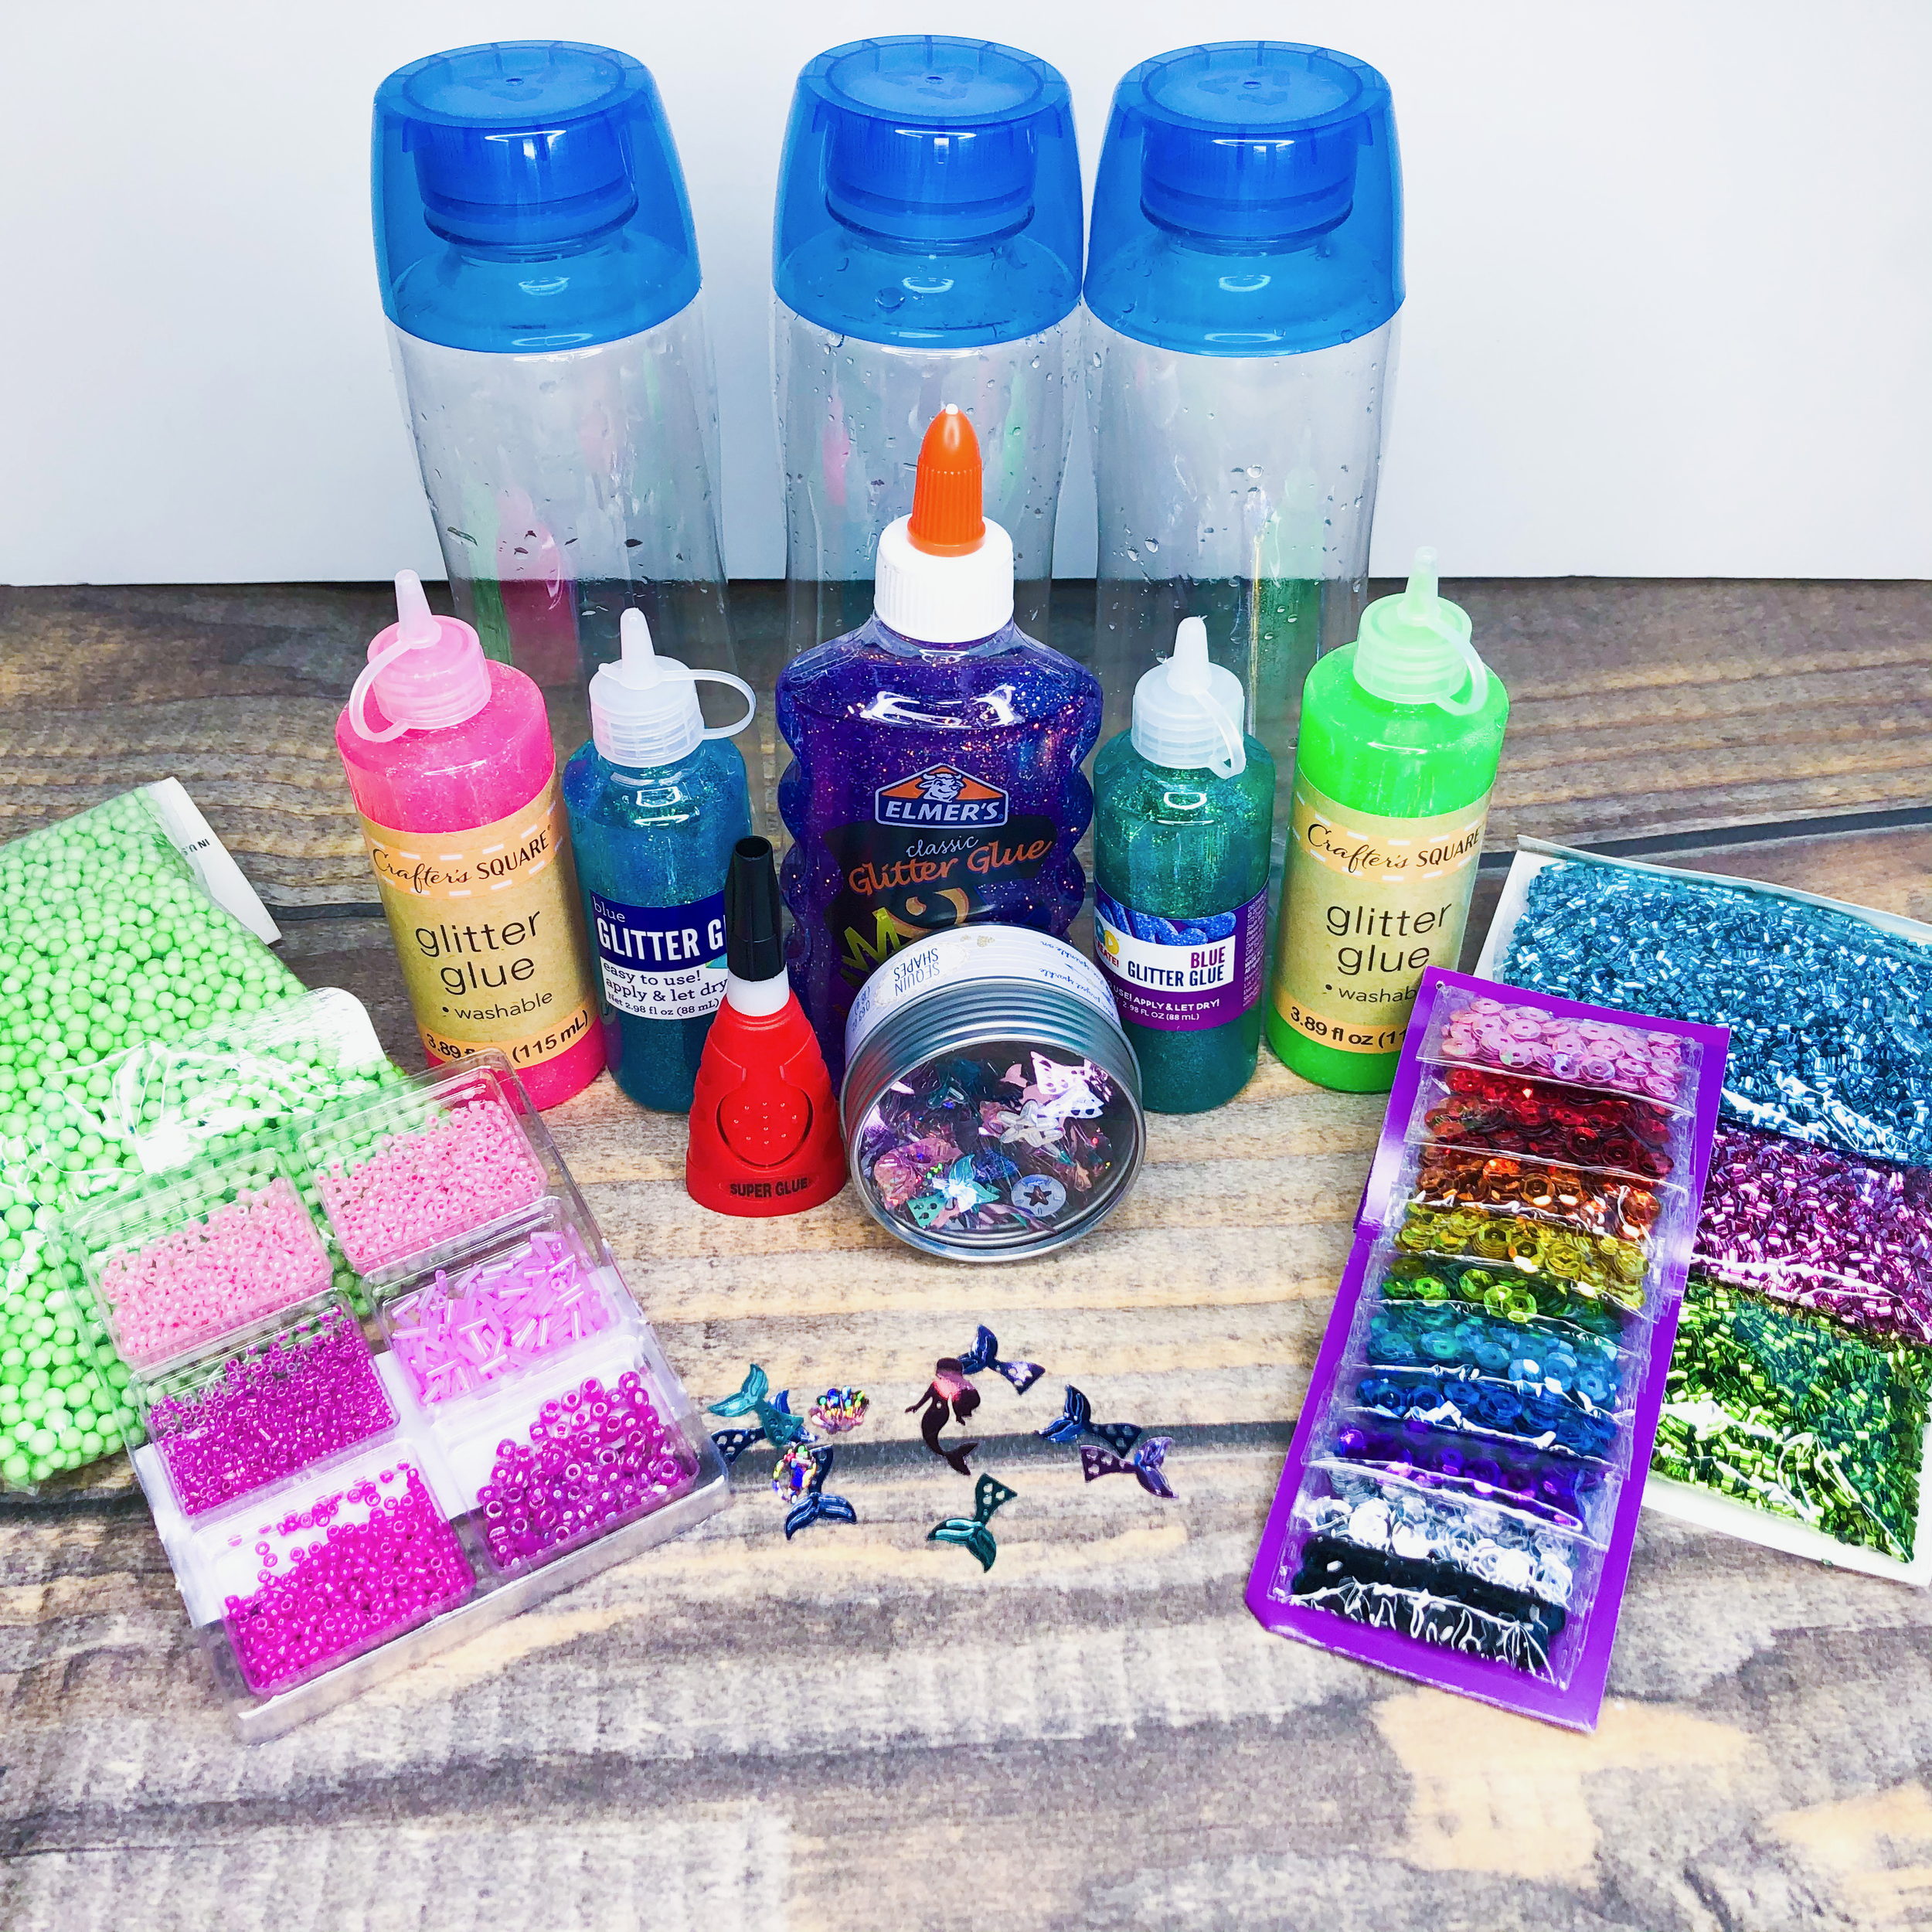
You will need:
Empty Water Bottles (Voss Water or Core Water, I also found these sensory bottles)
1 Bottle of Glitter Glue per Water Bottle
1 Bottle of Clear Glue per Water Bottle (for thicker sensory bottles)
Small Items to Float Around (sequins, pom pom balls, small toys, pipe cleaners, water beads, gems, and more)
Super Glue
Water
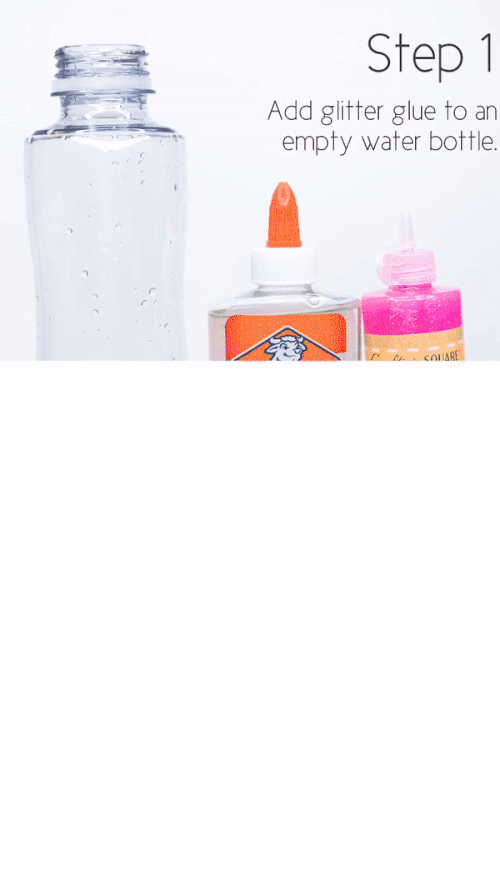
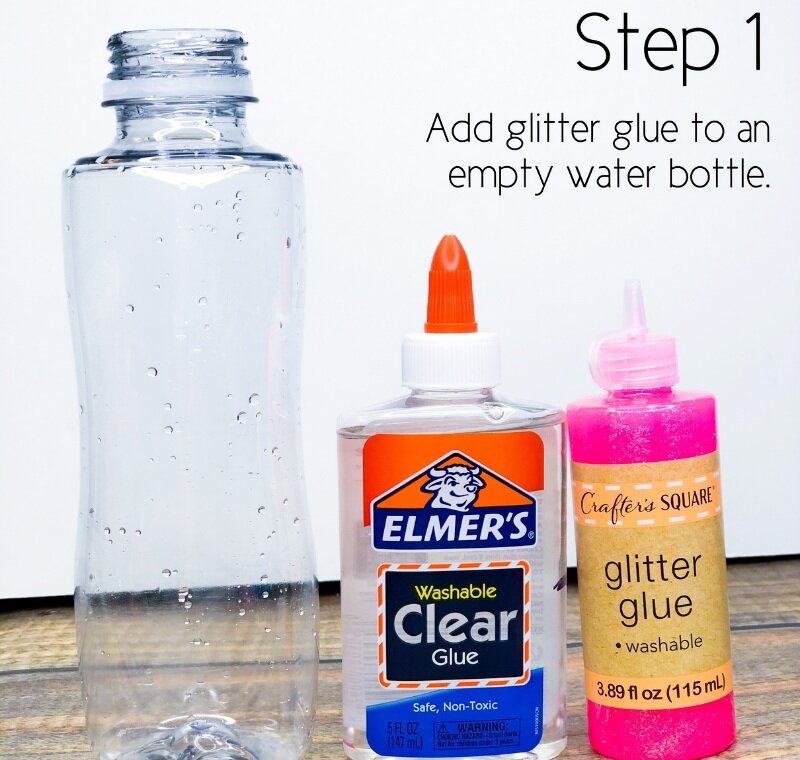
Step 1
Add your favorite glitter glue to an empty water bottle.
The glitter is the main ingredient that students use to help them become calm and focused. They watch the glitter inside the sensory bottle until it settles back to the bottom of the bottle.
If you want to have slower moving glitter, you can add a bottle of clear glue. The more glue you add, the thicker your sensory bottle will be.
Step 2
Pick a theme for your sensory bottle. Find small items that match your theme and add them to the bottle.
It’s fun to incorporate interests of your students by placing items that they love into the bottles.
Items that are lightweight will float around your sensory bottle freely. Items that weigh more tend to move to the bottom of the bottle quickly.
It could also be fun to add small styrofoam balls that will stay floating at the top.

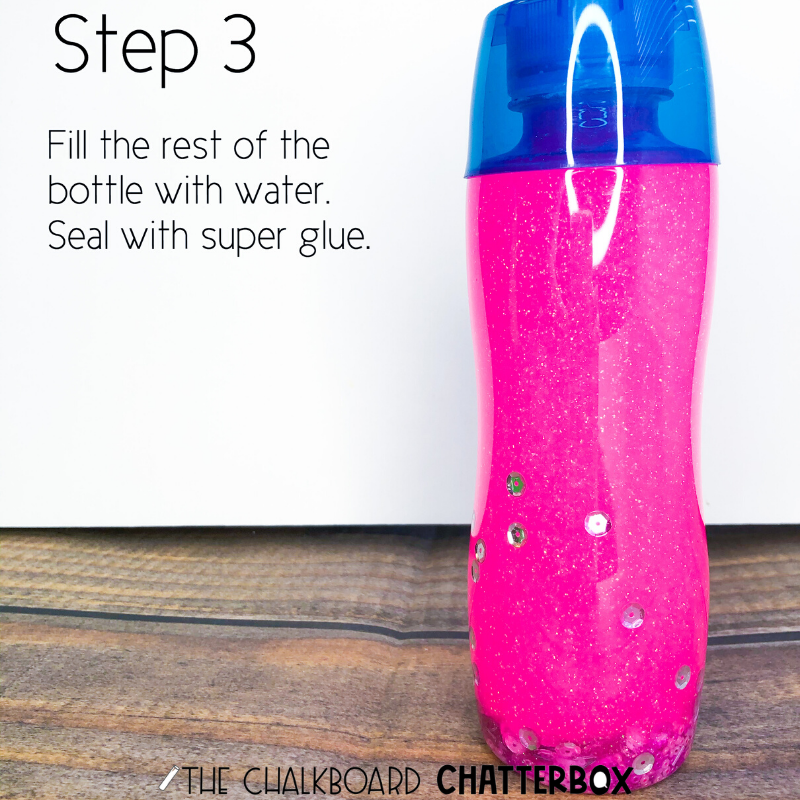
Step 3
Finally, fill the rest with water.
You can use a funnel or measuring cup to prevent spilling.
To ensure that the bottle remains closed at all times, make sure to add superglue to the rim of the bottle. Twist the lid back onto the water bottle.
Shake up the sensory bottle to mix all the materials together.
Repeat the process to create more sensory bottles to add to your collection! Sensory bottles are the perfect addition to your calm down caddy!
Start emptying those water bottles and gathering your fun fillers. Your students will make you proud when they begin to self-regulate in the classroom. Who knows? You might need a sensory bottle of your own!
Looking for more tools to add to your calm down caddy? Read this post, 4 Tools to Help Students Regulate Their Emotions.
You’ll Love These Related Posts


