
Heat, Light, and Sound Lesson Plans and Anchor Charts
If you’re looking for fun and engaging ways to teach forms of energy, your search is over. With these heat, light, and sound lesson plans, investigations, and anchor charts, students will:
identify characteristics of each form of energy: heat, light, and sound
investigate how heat, light, and sound are used in daily life

Characteristics of Heat, Light, and Sound Activities
Begin the new unit by helping students understand new science vocabulary. Use interactive notebook pages to have students write about each form of energy.
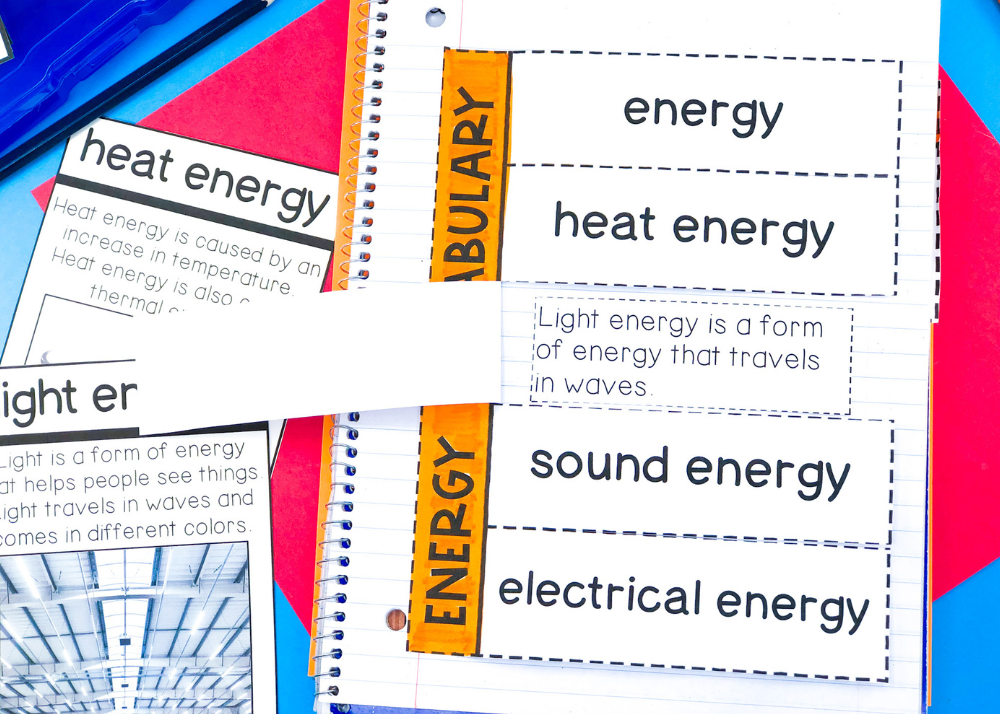
Heat
Work on developing reading comprehension with a nonfiction passage. While learning about heat energy, students will find text evidence to answer each question.

Heat Energy Experiment
Materials:
3-4 glass jars
hot water
thermometer
foil
bubble wrap
sock
paper
Procedure:
Show students the materials that will be wrapped around each jar.
Discuss which material will best hold in the thermal energy.
Fill the glass jars with equal amounts of hot water.
Measure the temperature of each glass of water.
Wrap each jar with a different material and wait 10-15 minutes.
Measure the temperature of each glass of water to determine which material was the best insulator.
Discuss your observations.
Light
Introduce light energy with this simple activity. Start by asking students to share what they can see with the lights on. Make a list of their responses. Next, turn off the lights. Ask students to share what they can see around the room. Add their responses to the list. Have a discussion about the differences in responses and what caused the contrast.

Continue learning about light energy and the ways that light travels. Students can begin to compare the characteristics of heat and light. Ask if they can think of anything that produces heat and light energy.

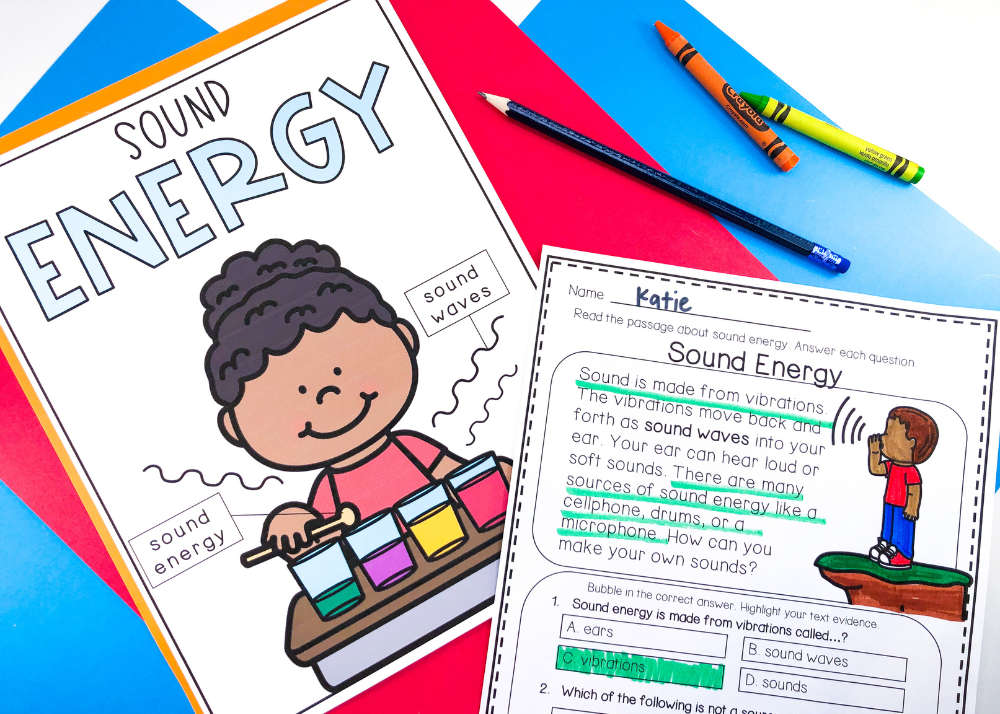
Sound
There are many words that are associated with sound, like noise and music. Teaching about sound waves can be difficult because sound is not something that we can see. Use this video to help students visualize and observe types of sound waves.
Continue to help students understand the characteristics of sound energy with some independent practice activities. Students can identify which objects produce sound energy.
Sound Energy Experiment
What better way to learn about sound than to create a musical instrument.
Materials:
aluminum cans
plastic containers
rubber bands
wax paper
straws
balloons
beans
Procedure:
Students will use the materials to create their own instrument.
They will explain how to use their instrument to make sound energy.
Give students the opportunity to play their instrument along with their favorite song.
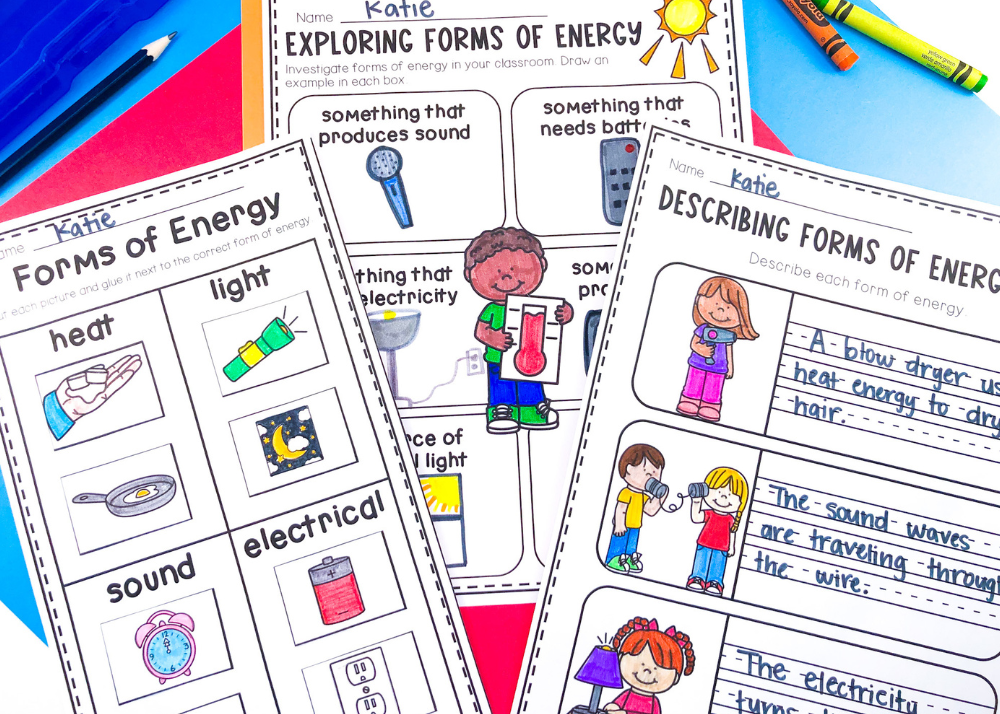
Identifying Forms of Energy Activities
Looking for independent activities to help students identify different forms of energy? In the Forms of Energy unit, there are a variety of practice pages where students can sort the forms of energy and find their own examples of heat, light, and sound.
Wrap-Up
This information packed unit has everything you need to help your students identify each form of energy. With each hands-on experiment, students will be able to apply their learning throughout the year.

You’ll love these related posts


