
Neighborhood and Community Activities and Lessons for Social Studies
Are you looking for ways to help your students see themselves as an active member of their neighborhood and community? With these neighborhood and community lesson plans and activities, students will transfer their knowledge by creating a community of their own using the engineering design process. After reading, you’ll discover ways to:
teach characteristics of a neighborhood and community
identify people who live and work in a community
create a model of a neighborhood or community
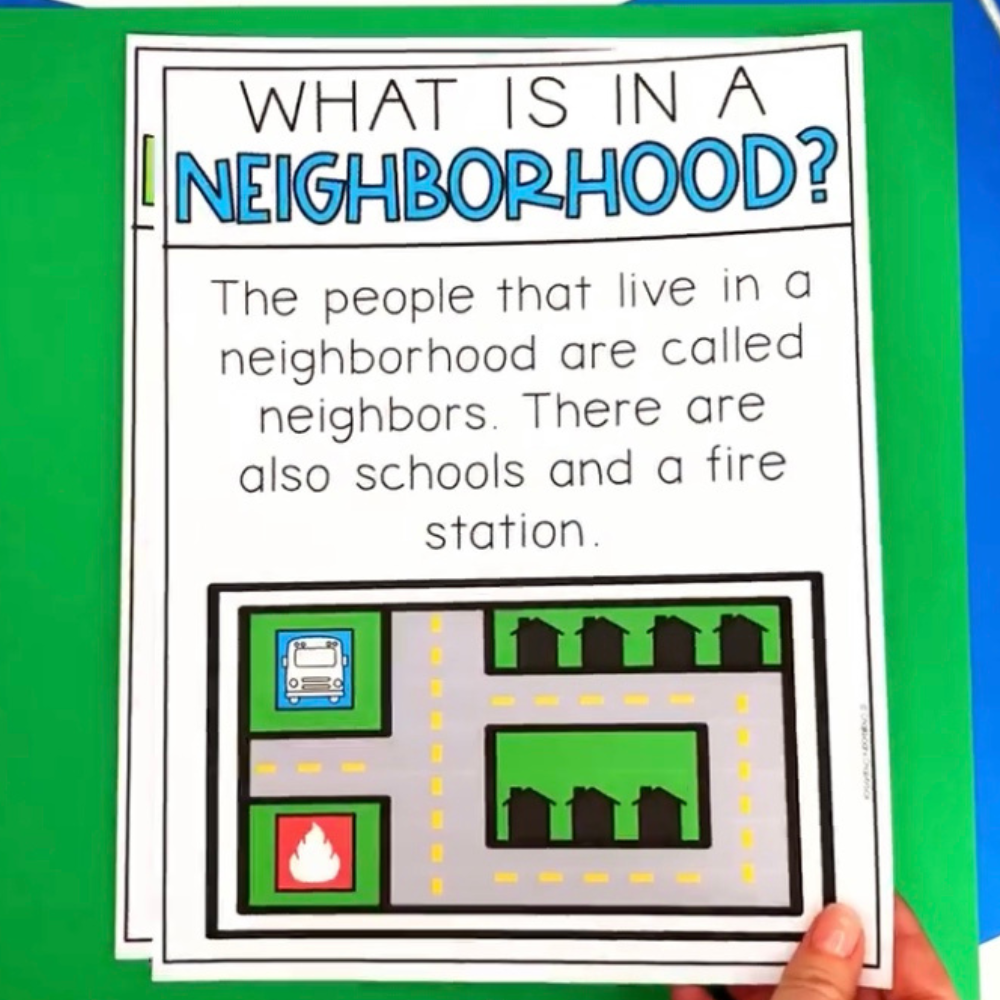
Identifying Characteristics of a Neighborhood and Community
Help students begin to develop social studies vocabulary by having them think about locations that they visit in their community.
Discuss and list different types of businesses, community services, and other public places. Ask students if each community has the same businesses and public places. Discuss what would cause a community to need different types of stores or restaurants.
Once students have an understanding of their own neighborhood, they can learn to differentiate between rural, urban and suburban communities.
Rural Communities
Display the rural community anchor chart to teach the characteristics of rural communities.
Rural communities have wide open spaces.
In rural communities, there are farms with crops and animals.
There are not as many people in rural areas.

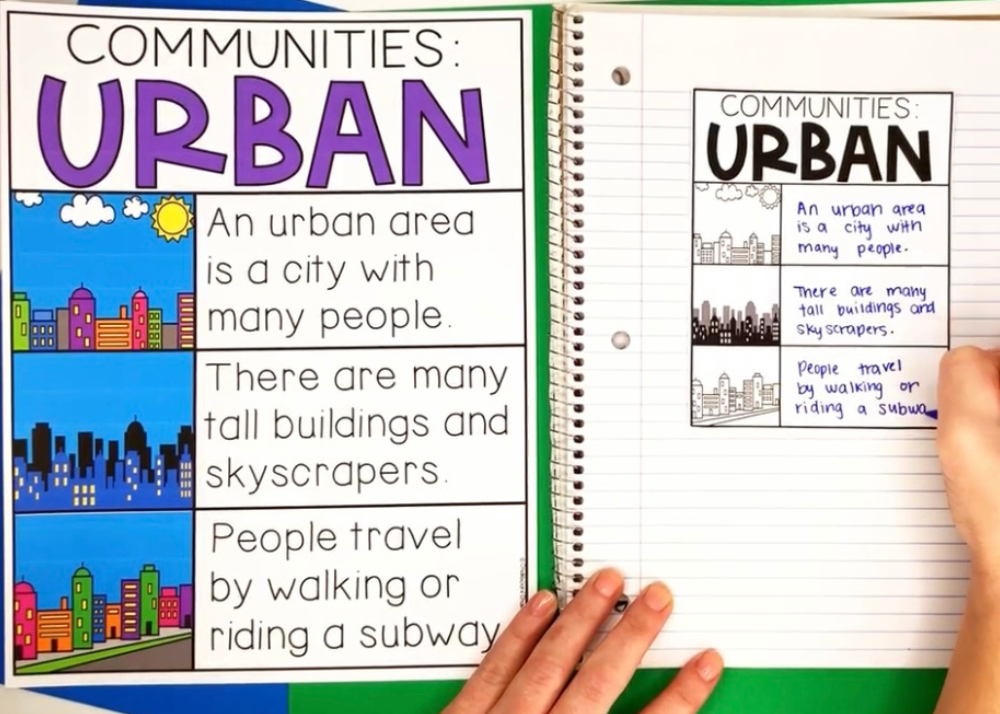
Urban Communities
Using the urban community anchor chart, help students understand the characteristics of an urban community.
An urban community is a city with many people.
There are many tall buildings and skyscrapers.
People travel by walking or riding a subway.
Continue the class discussion by comparing rural and urban communities. Students can develop their understanding by talking with a partner about the different ways that people live and work in each community.
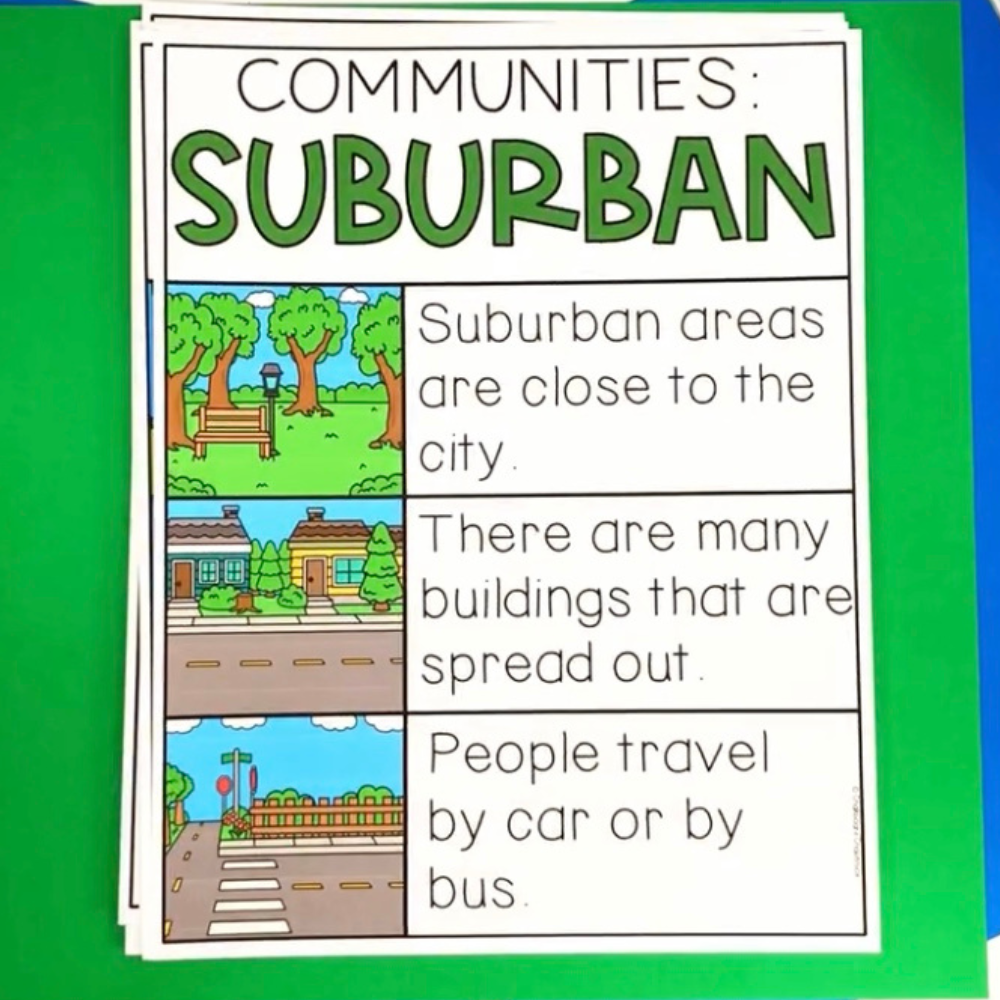
Suburban Communities
Display the suburban community anchor chart to help students understand the characteristics of suburban communities.
Suburban communities are close to the city.
There are many buildings that are spread out.
People travel by car or by bus.
Now that students can identify rural, urban, and suburban communities, have a class discussion to determine which type of community that they live in.
Community Helper Activities
Help students understand that people work in their community to earn money. Tell students to think about the people that they see working in their community.
How do community helpers make the community a better place to live?
What is a service?
Which community helpers provide people with a service?

Use colorful and engaging anchor charts to help students understand what each person looks like and the tools that they use to do their job successfully.
Create a Model of a Neighborhood and Community
Are you ready to make a community come to life right inside your classroom? Students will work with small groups to help the mayor expand the growing community.
With the student checklist, students will build different buildings and businesses in their community.
Planning and Preparation
You’ll want to be collecting recycled materials for students to build their creations. Consider sending home a note to parents to have them help in the collecting process.
Materials Needed:
Foam poster board for each group
Our community checklist and planning page
A basket of recycled materials for each group
Snap cubes
Tape and glue

Day 1 - Introduction and Planning
Using the digital slides, introduce students to the community building challenge. Students will learn that they have a job to help the mayor expand the community.
Introduce students to the materials that they have to build their community.

Students will discuss and plan a design with the members of the group. They will each draw their plans on their planning page.
At the end of the first day, check each plan to make sure each group has included each building or business.

Day 2 - Continue Planning and Begin Building
For the next step in the planning process, students will use snap cubes to plan where each building will fit onto their poster board. This will help students get the correct placement and prevent all the buildings from piling up in one area of the board.
Once each group has planned with snap cubes, go through the checklist to make sure they have everything they need. After, students can start the building process.

Day 3 - Finish Building and Reflect
For the next few days, students will continue working together to finish creating their communities. When they have finished, they can present their creations to the rest of the class.
This project also makes for a great display for parent conferences or open house.

Wrap-Up
With these hands-on lesson plans and activities, your students will always remember the characteristics of neighborhoods and communities.

You’ll love these related posts


